

Rigid box manufacturers make a significant contribution by offering high-end packaging solutions, appealing to the eyes and also drugs of the absolute best. Typically used for luxury products, it can provide a high level of protection and create a more enriching presentation. There is an elaborate manufacturing workflow that goes into making these boxes, and each step has to be executed properly. Several underlying factors lead to the manufacture of functional and aesthetically pleasing custom rigid boxes throughout the process, right from when the initial design is made to when the final touches are put on it. So in this blog, we are going to take you stepwise through the whole rigid box manufacturing process including detailed types (e.g., collapsible rigid boxes, custom shoulder neck boxes) and how each process is adding fire to the oven.
The Foundation
The material used is the core of the strength and durability of a rigid box. Custom rigid boxes are generally thick paperboard which is always pressure-proof from the outside and safe to keep the items placed in them. They also include sustainability and recyclability in material selection as eco-friendly packaging is becoming increasingly important to shoppers. It’s made from paperboard that has been specifically selected for its thickness and cutting properties (it can be cut into certain patterns). Some boxes might have an additional thick layer of cardboard to make them swipe-proof, say, in preparing delicate items for packing.
Creating the Perfect Design
Design plays an important role in the overall success of the rigid box. An appropriately done design would assist in the box not just in terms of working, but also to make it look better in terms of aesthetic appeal. After that, designers collaborate directly with brands on tailored designs that fit the product’s image and the brand’s identity. Particularly custom rigid boxes canada in Canada are generally made with different local aspects or necessities, such as extravagant products or official endowments. The designers also spend time choosing appropriate colours or finishes and printing techniques, including whether the box should have embossed, foil-stamped, or debossed details to enhance the overall appeal of the box.
Everything You Need to Know About Die-Cutting
In the cutting process, precision is key. Upon finalizing the design, the paperboard/cardboard has to go through die-cutting, that is, the material is cut in the desired shapes and sizes. We need to be precise when cutting to ensure that we have clean and crisp edges for our box. This is critical for collapsible rigid boxes, too: the design must enable easy assembly and convenient storage. Complex shapes or folds for custom designs rely on specialized cutting methods to prevent damage to the material and ensure the box is intact.
Assembling the Pieces
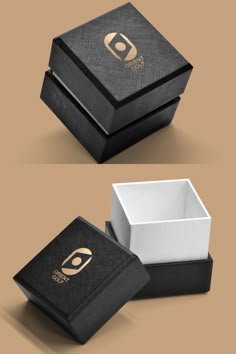
Once the pieces are cut, assembly begins. Here it involves precision folding with glueing of the different pieces to create the shape of the box. This stage can involve extra compartments or dividers, which are added during this process, specifically the manufacturing of rigid box packaging. For example; A custom shoulder neck box is widely used for different luxury products from jewelry to watches but to ensure the items sit comfortably inside the box, specific compartments need to be added. At the assembly stage, we put the box together, making sure that everything fits just right!
Adding the Finishing Touches
With the box assembled, it’s time to add the decor that makes it special. The box is printed, embossed, coats and other decorative elements to enhance the visual appeal. The rigid boxes wholesale have a more standardized finish, while the custom boxes have a unique finish curated specifically for the brand. Some other popular finishes are matte, gloss, soft-touch, and even metallic coatings. Having these extra effects on screen printing helps not only the visual perception by giving it more life but also the tactile appeal of the packaging, as touching the box produces a different experience.